
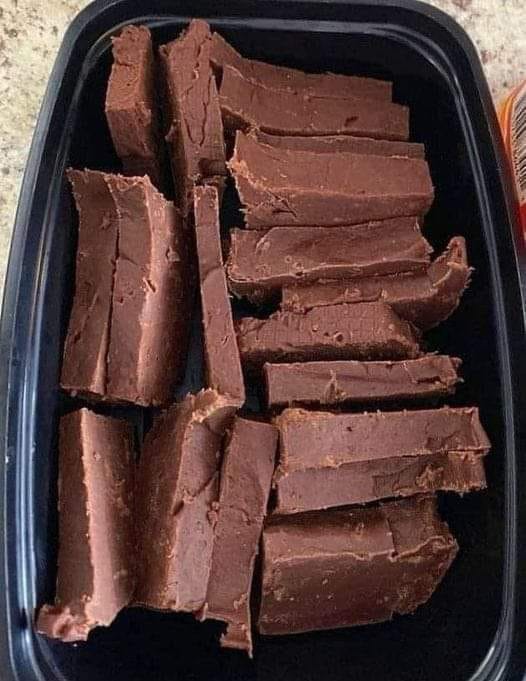
My Mom’s Fudge is distinct for its texture which is perfect, and flavor which is rich. It’s both creamy and firm at the same time; soft enough to melt in your mouth smoothly. The incredible balance between the sweetness and cocoa wealth gives an enjoyable nibble each time.
History of Fudge
Origins
The origin of fudge can be traced back to the USA in the late 19th century. The first documented batch of fudge was said to have been made in 1886 when it was sold at a Vassar College Fundraising event. This might have been an accidental discovery like most culinary inventions.
Evolution
Fudge has come from being a mere chocolate candy to be a multifarious delicacy with countless flavors and varieties over time. It grew famous during early 20th century especially in tourist towns like Mackinac Island, Michigan where the shops selling fudges had become a major attraction.
Fudge in Popular Culture

Fudge has taken a significant place within American culture. It’s what people get excited about at their state fair, gifts given out during Christmas holidays or even that vintage memory for days gone by. In fact now “fudging” is also used as a verb when someone makes mistakes or changes things so that they fit their own purposes better.
Ingredients for My Mom’s Fudge
3 Cups of white sugar.
¾ Cup unsweetened cocoa powder.
1 ½ Cups whole milk.
½ Cup saltless butter.
One teaspoon vanilla extract.
1/4 teaspoon kosher salt
Method
Preparation
Ingredients must be set: Take the measurements for all ingredients before attempting any cooking, so as to make sure a smooth process.
Making the Baking Dish Ready: Put parchment paper on an 8×8 inch baking dish, leaving some overhang on either side that will aid in easy removal later on.
Cooking Process
Combine Ingredients: In a heavy-bottomed saucepan, put together granulated sugar, unsweetened cocoa powder and sea salt until completely mixed up.
Add Milk and Butter: Crumble the unsalted butter into the pan and add whole milk to it as well.
Heat the Mixture: While stirring continuously with a wooden spoon-wait till sugar and cocoa powder dissolve and butter melts thereby becoming smooth mixture for low heat cookery mix in a medium-sized casserole-dish-stir occasionally using wooden spoon-wait till chocolate is melted fully
Boil the Mixture: Then reduce heat to simmer. Attach candy thermometer to side of casserole dish without touching bottom surface of casseroledish or use clip-on type candy thermometer instead- so that you can see when “soft ball stage” has been reached at 234 degrees Fahrenheit (112 degrees Celsius).
Monitor Temperature: Do not stir while cooking; let it reach soft ball stage which is 112°C (234°F) on candies’ thermometers scale; remove from stove; don’t touch them even after removing from burner; leave aside without tampering until cooled down completely.
Cooling and Setting
Cool the Mixture: Leave it alone for a while until the mixture cools to 110°F. It is about half an hour.
Add Vanilla and Beat: After cooling, add vanilla extract to the mixture. The wooden spoon or electric mixer on slow speed would merge these results into a thickened concoction that loses some of its luster.
Pour into Baking Dish: Immediately pour this thickened fudge into the prepared baking dish, spreading evenly with an offset spatula.
Final Steps
Cool Completely: The fudge should then be left at room temperature till it is cool. This may take several hours or even overnight.
Cut into Pieces: When finally set, remove fudge from baking dish lifting it by parchment paper overhang. Cutting them into small squares using a sharp knife marks those little cubes of joy.
Serve and Enjoy: Fudge can be served immediately or stored in an airtight container for up to two weeks.
