
1. Simplified Process: No-knead bread recipes typically involve minimal steps and ingredients, making them accessible to bakers of all skill levels. With just a few basic tools and ingredients, you can create homemade bread that surpasses store-bought varieties in taste and quality.
2. Time Efficiency: While traditional bread-making methods often require hours of kneading and proofing, no-knead bread recipes utilize longer fermentation times to achieve superior results with minimal effort. By allowing the dough to ferment overnight or up to 24 hours, you can develop complex flavors and textures without the need for constant supervision.
3. Versatility: No-knead bread recipes are highly adaptable and can be customized to suit your preferences. Whether you prefer a rustic country loaf, a crusty baguette, or a flavorful focaccia, the principles of no-knead bread-making can be applied to a variety of bread styles and shapes.
Now that we’ve explored the beauty and benefits of no-knead bread, let’s dive into the kitchen and discover how to create perfect loaves of bread from scratch.
Classic No-Knead Bread Recipe:
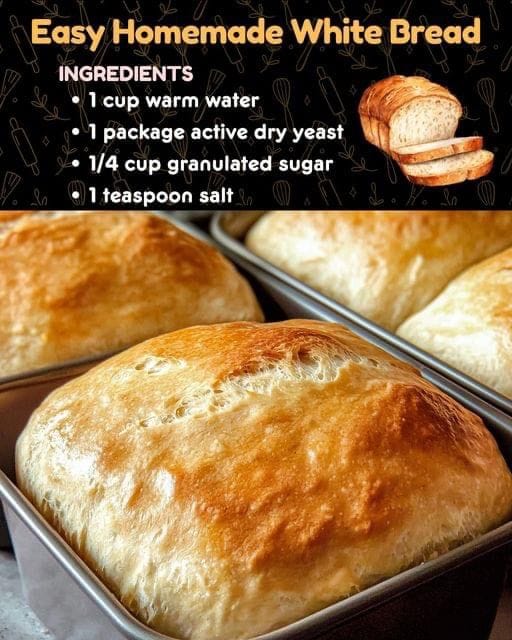
Ingredients:
– 3 cups all-purpose flour
– 1 ½ teaspoons salt
– ½ teaspoon active dry yeast
– 1 ½ cups lukewarm water
Instructions:
1. In a large mixing bowl, combine the flour, salt, and yeast. Stir until the ingredients are evenly distributed.
2. Add the lukewarm water to the dry ingredients, mixing until a shaggy dough forms. Avoid overmixing, as the goal is to incorporate the ingredients without kneading the dough.
3. Cover the mixing bowl with plastic wrap or a clean kitchen towel and let the dough rest at room temperature for 12-18 hours. During this time, the dough will undergo fermentation, developing flavor and texture.
4. After the initial fermentation period, the dough should be puffy and bubbly. Preheat your oven to 450°F (230°C) and place a Dutch oven or heavy-bottomed pot with a lid inside to preheat as well.
5. While the oven is preheating, transfer the dough to a lightly floured surface and shape it into a round ball. You can use a bench scraper or your hands to gently shape the dough, but avoid kneading or overhandling it.
6. Once the oven is preheated, carefully remove the hot Dutch oven or pot from the oven. Using oven mitts, remove the lid and carefully transfer the shaped dough into the hot pot.
7. Cover the pot with the lid and return it to the oven. Bake the bread covered for 30 minutes to create steam and promote oven spring.
8. After 30 minutes, remove the lid from the pot and continue baking the bread uncovered for an additional 15-20 minutes, or until the crust is golden brown and crisp.
9. Once the bread is baked to perfection, carefully remove it from the oven and transfer it to a wire rack to cool completely before slicing.
10. Enjoy your freshly baked no-knead bread with your favorite spreads, cheeses, or as a delicious accompaniment to soups and salads.
Tips for Success
Continue Reading in next page
