
Now, let me share a few tricks I’ve learned through trial and error (and believe me, there were some errors):
Fresh lemon juice is non-negotiable. I know, I know, squeezing lemons is a pain. But trust me, it makes a world of difference. Pro tip: roll your lemons on the counter before juicing to get every last drop.
Don’t skimp on the chilling time. I know it’s tempting to dig in right away (been there, done that), but letting these bars chill in the fridge really lets the flavors meld together. It’s worth the wait, I promise!
The crumb is everything. Make sure you really pack that bottom layer down. I use the bottom of a measuring cup to get it nice and even.
Use room temperature eggs. Cold eggs can make your filling lumpy, and nobody wants that.
Let’s Get Baking!
Alright, here’s how to make these little slices of heaven:
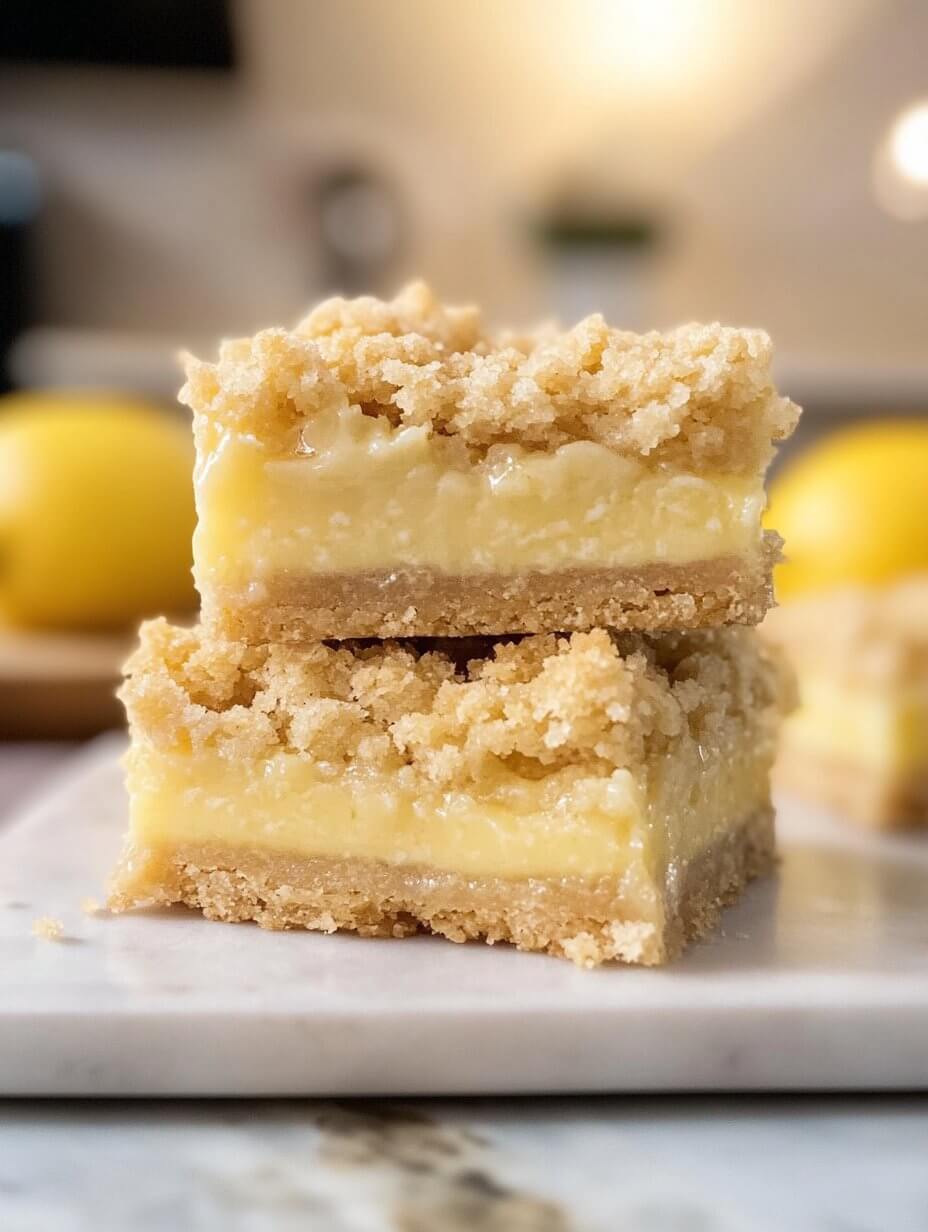
Start with the crumb. It’s as easy as mixing dry ingredients and melted butter. No need for a fancy pastry cutter here!
Press most of that crumb into your pan for the crust. Save some for the topping – it’s like a delicious, buttery bookend for your lemon filling.
While the crust is baking, whip up the filling. It’s just a matter of whisking together condensed milk, egg yolks, cream, and of course, lemon juice. Be sure to add the lemon juice gradually while whisking to prevent curdling.
Pour that luscious lemon mixture over the hot crust, sprinkle the remaining crumb on top, and back into the oven it goes.
The hardest part? Waiting for them to cool and chill. I may or may not have burned my tongue trying to sneak a bite too early. Learn from my mistakes, folks!
Make It Your Own
Feel free to play around with this recipe. Some of my favorite tweaks:
Add some lemon zest to the crumb for extra lemony punch.
Throw in some blueberries for a fun twist.
Drizzle with a simple glaze if you’re feeling fancy.
![]()
What to Serve With Them
Honestly, these bars are perfect on their own. But if you want to take it up a notch:
Continue Reading in next page
