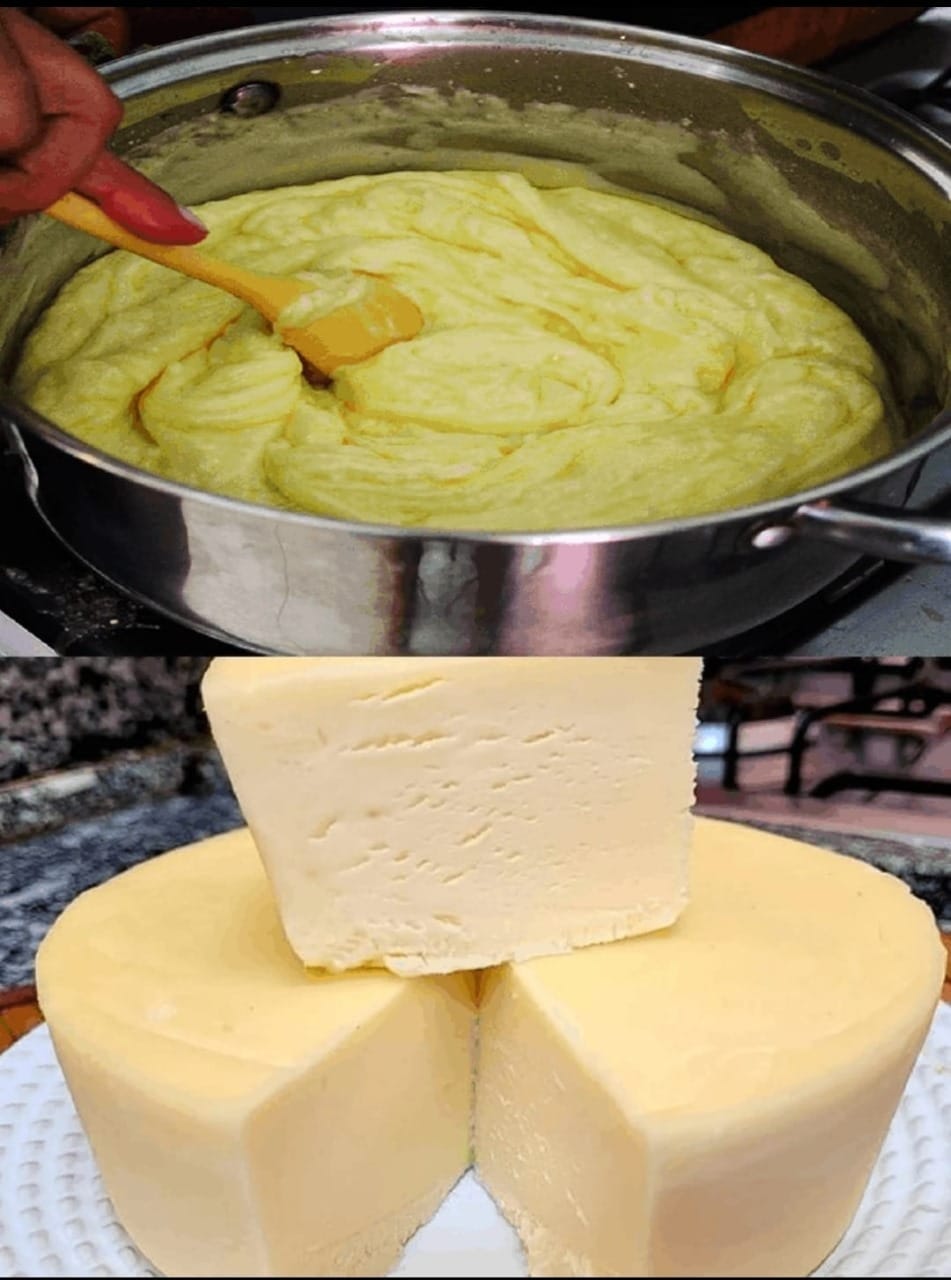
Turn off the heat and slowly add the vinegar or lemon juice while stirring gently.
You will notice the milk curdling and separating into curds (solid) and whey (liquid).
Strain the Curds:
Place a cheesecloth or clean kitchen towel over a colander and set it over a large bowl.
Carefully pour the curdled milk into the lined colander.
Let it drain for 10-15 minutes for soft cheese or longer for a firmer texture.
Season the Cheese:
Transfer the drained curds into a bowl and mix in the salt.
Add optional herbs or spices if desired for added flavor.
Shape the Cheese:

For a block of cheese, press the curds into a mold or any container lined with cheesecloth.
Press down firmly and let it set for 1-2 hours in the refrigerator.
Serve and Store:
Once set, remove the cheese from the mold.
Slice and enjoy immediately or store in an airtight container in the refrigerator for up to a week.
Tips for Perfect Homemade Cheese
Use Fresh Milk: The fresher the milk, the better the cheese.
Experiment with Acids: Vinegar gives a tangy flavor, while lemon juice provides a citrusy note.
Control the Texture: For creamier cheese, drain for less time. For crumbly cheese, let it drain longer.
Add Flavor: Incorporate fresh herbs, garlic, or chili flakes for customized cheese.
Reuse Whey: Don’t discard the whey; use it in soups, smoothies, or baking.
Nutritional Information (per serving)

Calories: 100
Protein: 7g
Fat: 8g
Carbohydrates: 1g
Calcium: 150mg (Values vary based on milk type and portion size.)
Conclusion
Homemade cheese is a delightful culinary adventure that allows you to customize flavor, texture, and ingredients to suit your preferences. Perfect for spreading, slicing, or crumbling, this cheese is versatile and pairs wonderfully with crackers, bread, or salads. Try this recipe and bring the joy of cheesemaking into your kitchen!

