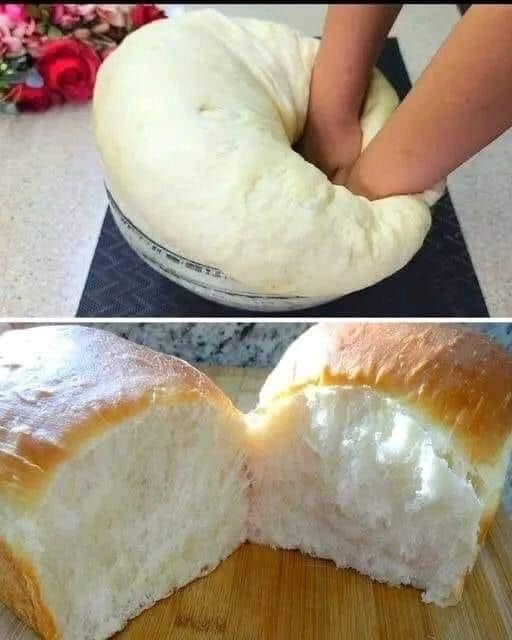
After 12-18 hours, the dough will be very soft and sticky with bubbles on the surface. Flour your hands and a clean surface, then gently turn the dough out onto the floured surface. Shape it into a rough ball, being careful not to deflate the dough too much. Avoid kneading it at this stage—just fold the dough a few times to shape it.
5. Preheat the Oven and Dutch Oven
Place a Dutch oven (or any heavy oven-safe pot with a lid) into the oven and preheat both to 450°F (230°C). Let the Dutch oven heat for at least 30 minutes. This ensures a perfectly crusty exterior when baking.
6. Transfer the Dough to the Dutch Oven
While the Dutch oven is preheating, let the shaped dough rest on a sheet of parchment paper. After preheating, carefully remove the hot Dutch oven from the oven. Lift the dough using the parchment paper and place it into the pot. Cover with the lid.
7. Bake
Place the Dutch oven back into the oven and bake the bread covered for 30 minutes. After 30 minutes, remove the lid and continue baking for another 15 to 20 minutes until the bread has a golden, crispy crust.
8. Cool and Enjoy
Remove the bread from the Dutch oven and let it cool on a wire rack before slicing. The bread will have a beautifully crackling crust and a soft, airy interior.
Why No-Knead Bread is So Popular
1. Minimal Effort, Maximum Reward
The beauty of no-knead bread lies in its simplicity. Instead of spending time and energy kneading, you let time do the work for you. The slow fermentation process enhances the dough’s flavor, creating a rustic loaf that’s both easy and delicious.
2. Artisan-Style Bread at Home
This method produces a loaf of bread with a golden, crispy crust and a light, chewy crumb—qualities that are typically found in artisan bread from specialty bakeries. The use of a preheated Dutch oven mimics a professional steam oven, which helps create that signature crust.
3. Versatile and Customizable
You can easily customize this recipe to suit your taste. Add mix-ins like chopped herbs, garlic, shredded cheese, or seeds to the dough to create different flavor profiles. Whether you want a plain loaf or something more adventurous, this recipe is flexible enough to accommodate your preferences.
4. Beginner-Friendly

For those new to bread baking, this no-knead method is an excellent place to start. There’s no need to worry about technique or the fear of over-kneading. As long as you allow the dough to ferment properly, you’re guaranteed a successful loaf.
Tips for the Best No-Knead Bread
Use Room Temperature Water:
Make sure the water you add to the dough is room temperature or slightly lukewarm. Too hot, and it might kill the yeast; too cold, and it will slow the fermentation process.
Let the Dough Rest Long Enough:
The long fermentation period is crucial to developing the dough’s flavor and texture. The minimum rest time is 12 hours, but you can leave it for up to 18 hours for an even more complex flavor.
Use a Dutch Oven for Crust Perfection:
Baking in a preheated Dutch oven helps trap steam, which creates a bakery-style crust. If you don’t have a Dutch oven, you can use another heavy-lidded pot or place a tray of water in the oven to create steam.
Flour for Dusting:

